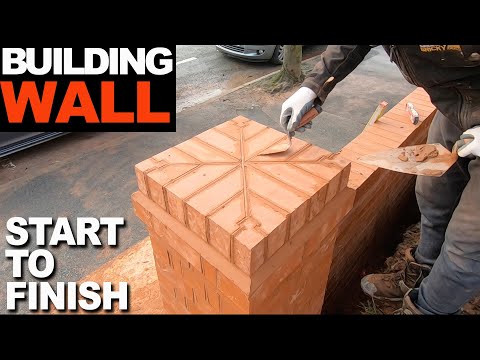
Building Curved Brick Wall From Start to Finish
A curved brick wall built from the footing to the finished top. Setting out a radius, keeping the curve true course by course, and finishing it off.

Where the shorter curved wall video focuses on the curve itself, this one follows a curved wall through the whole job, from setting out to the finished top. At twelve minutes it’s one of the longer videos on the channel, and it’s worth it if you’re planning a curved wall of your own or about to build one.
The job starts with setting out the curve. Because you can’t lay a curve to a stretched line, the radius has to be established first and checked from a fixed centre or a template, and that check is repeated as each course goes on. Stu works the wall up, keeping gauge and level around the curve, easing the joints on the outside face so the sweep stays smooth, and keeping the bond running. Then the top course and finishing, which on a curve needs the same care because any flat spot shows.
The video makes the point that curved work is slower and more deliberate than a straight run. Every brick gets checked. That’s what you’re paying for when a curved wall costs more per metre.
Who this is for: bricklayers taking on curved work, and homeowners who want to see the full process before they commission a curved garden wall, bay or drive edge.
What a homeowner should expect from a good job: a curve that’s smooth and consistent from bottom to top, courses level all the way round, no flats or kinks when you sight along it, joints that widen and narrow evenly between the faces, and a finished top that follows the curve cleanly. The footing under it should follow the curve too, not be a straight strip with the wall hanging off the edge.